Service

After-sales Service

Comprehensive Warranty & Global After-Sales Support

Comprehensive Warranty & Global After-Sales Support

1-2 Year Warranty on All Products

We stand behind the quality and reliability of our Ice Bath Chillers, which is why every unit leaving our warehouse comes with a 1-year warranty as standard. This ensures peace of mind, covering any concerns with fast replacements whenever necessary.

Hassle-free After-sale Service

Customer Feedback

Report issues related by videos or photos.

Machine Inspection & Registration

We will check your unit remotely to diagnose the fault according to the working data.

Repair Process

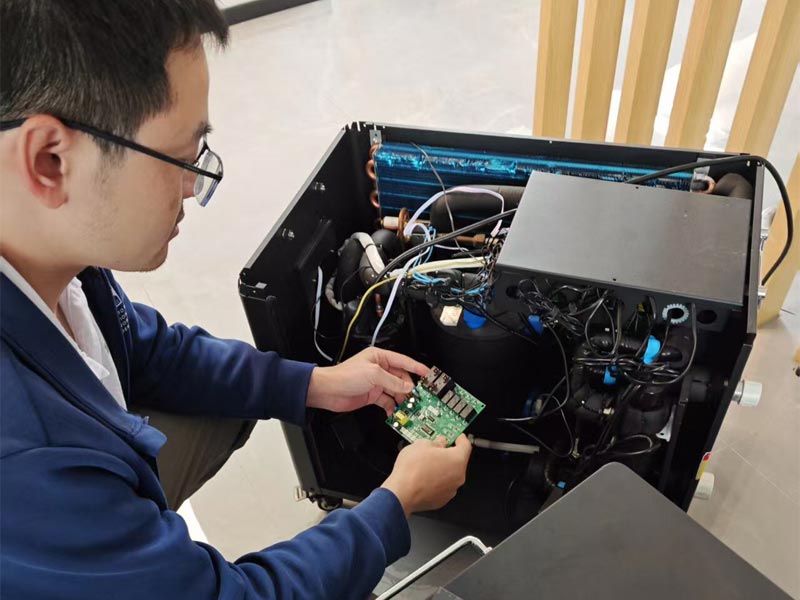
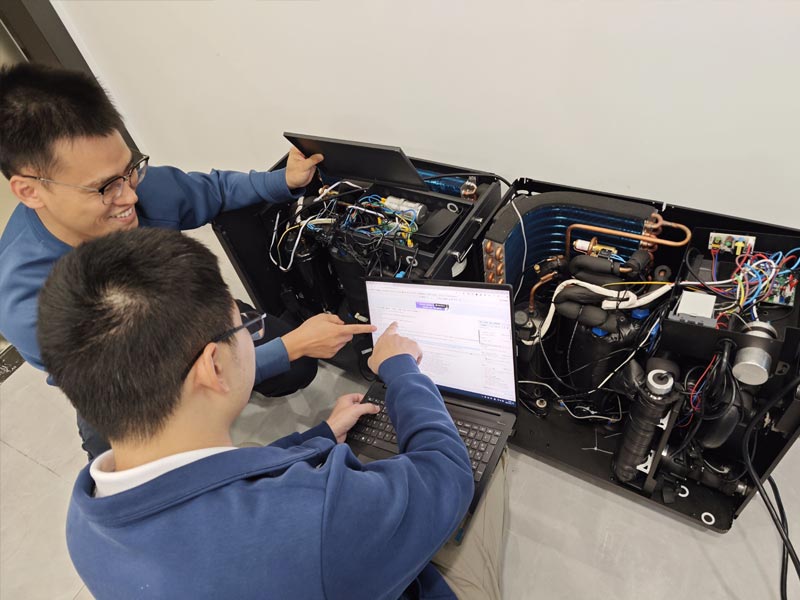
Our expert technicians will send you a new software version or guidance video to adjust on the chiller. Repair 98% of the units fast and efficiently.

Fast Delivery

If the components are faulty, we will send you a replacement part via fast delivery in 7-10 working days. No need to send back the machine.

24/7 Global After-Sales Support

Hi-Q Therapy dedicated after-sales team is available 24/7, 365 days a year. We provide solutions within 8 hours of your inquiry, ensuring minimal downtime for your business.

Immediate response with expert troubleshooting and resolution.

Free replacement parts or full unit replacement for Ice Bath Chillers when necessary.

Develop together we love to assist you any issues related to the ice bath — your satisfaction is our priority.

At Hi-Q Therapy, we don’t just sell products—we provide unparalleled support to keep your ice bath chillers running smoothly.

Global After-Sales Support
Installation Guide
Installation Guide

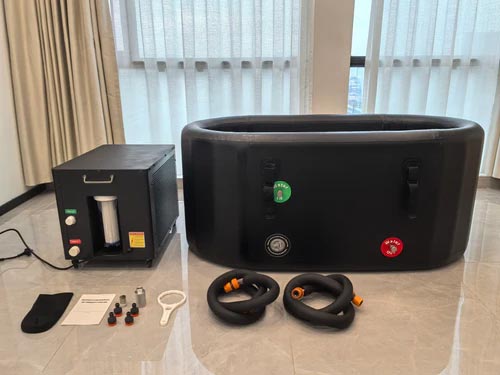
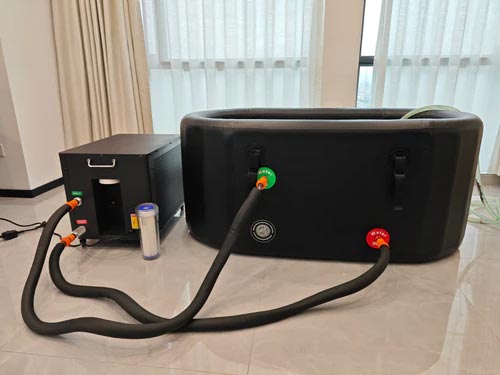
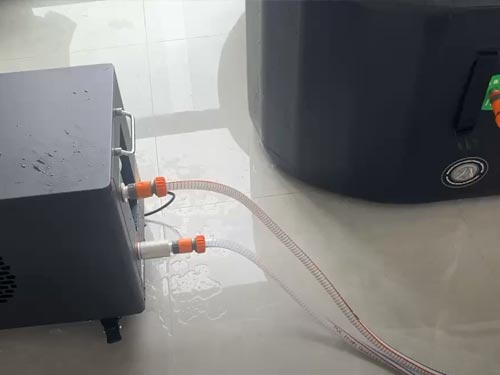
1. connect the four adapters to both the chiller and the ice bath.
2. Check if the quick connectors on the hoses are loose; if so, unscrew and re-tighten them.
3. The water in the ice bath should be above the outlet of the chiller.
4. Check if the hose at the inlet of the chiller is filled with water. If not, remove the hose and lift it above the ice bath, then slowly lower it. This will allow the air to be expelled from the hose, filling it with water. Finally, reconnect it to the chiller unit.

View More
How to Connect to WiFi

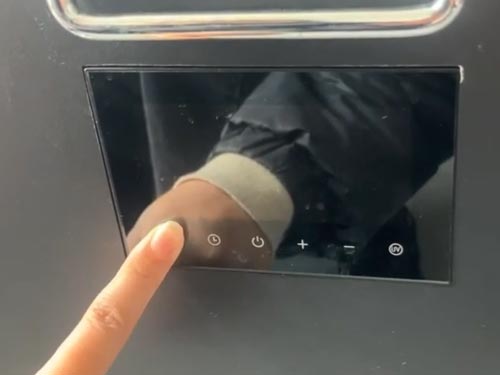
1. In the off state, press and hold the “+” and “-” buttons. Wait for the screen to light up, then press the power button. You will see the WiFi indicator flashing.
2. Next, turn on the Bluetooth and WiFi on your phone, log in to the Tuya or Smart app, and enter the WiFi account and password that your phone is connected to.
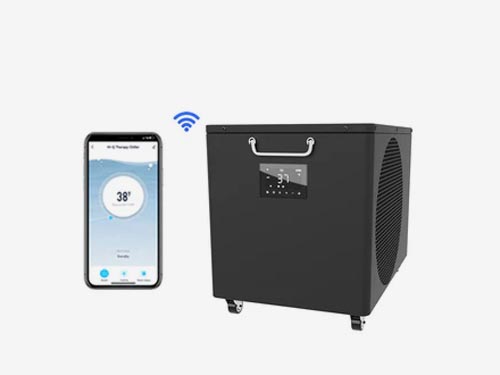
3. Once you have connected to WiFi, you can adjust the temperature, switch between cooling and heating modes, and set a timer on your phone.

View More
Regular maintenance of the ice bath chiller

1. Replace filter cartridge once per week is recommended.
2. lf the water flow rate is lower than before, please take off the metal conversion adapter and hair filter on the water-in port of the chiller, and wash inside with water to clean thoroughly.
3. Replace the water filter and water as well, since the scale and dust may hinder the water circulation.

View More
Temperature Unit Conversion

1. Log in to the app to switch the temperature unit
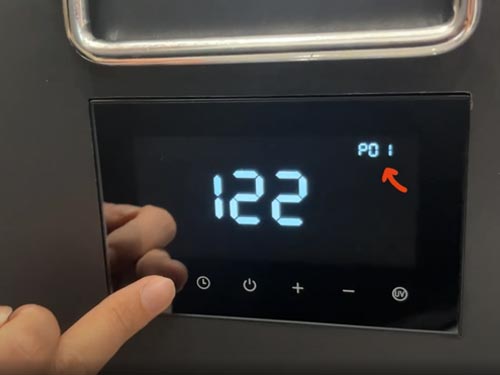
2. While the machine is turned off, press and hold the leftmost button until the screen lights up, then press briefly to set P08; 00 is ℃, and 01 is °F.

View More
How to solve the noise problem?

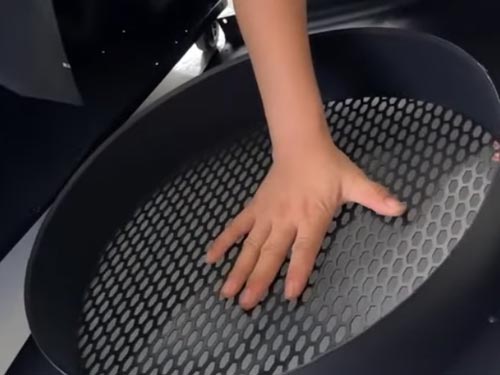
1. The fan's sheet metal has been deformed due to transportation.
2. It needs to be removed and then pressed back into shape.

View More
Solutions for Discrepancies between Actual Temperature and Displayed Temperature

1. While the device is turned off, long-press the Menu button and then briefly press it to navigate to P04.
2. Adjust P04 according to the difference between the actual temperature and the displayed temperature.
3. For example, if the displayed temperature is 2 degrees lower than the actual temperature, increase P04 by 2 degrees, and so on

View More
Non-Cooling Solutions

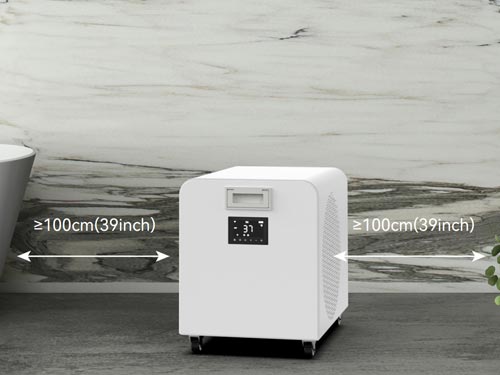
1. Check the placement of the chiller unit: The fan and heat dissipation copper fins should be at least 1 meter away from any obstructions
2. No water flow or low water flow: Purge the air from the hoses and clean the filter.
3. If the water flow is normal and the unit is placed correctly but still not cooling:
Check if the compressor is running:
After running for 30 minutes, touch the condenser pipe to see if it is hot.
Log in to the app to check if there is a significant change in the coil values before and after operation.
Check if the fan is blowing hot air — this indicates that the compressor is running.
If all three of the above are true, then the refrigerant needs to be recharged.
If the condenser pipe is not hot, there is little change in the values before and after operation, and the fan is blowing cold air, this indicates that the compressor is not running. In this case, check the wiring of the compressor.

View More
No water flow solution

1. Lower the water level in the ice bucket to the inlet level.
2. Disconnect the inlet hose from the machine, lift it up, and then slowly lower it to purge the air from the hose
3. If the water still cannot be drawn after completing the above steps, open the top cover of the chiller. There is a small electrical box inside, which you should also open.
4. After turning on the machine, run it for 3 seconds to check if the pump power light turns green.
5. If it doesn't light up, you will need to replace the power supply

View More
Solutions for Error Codes

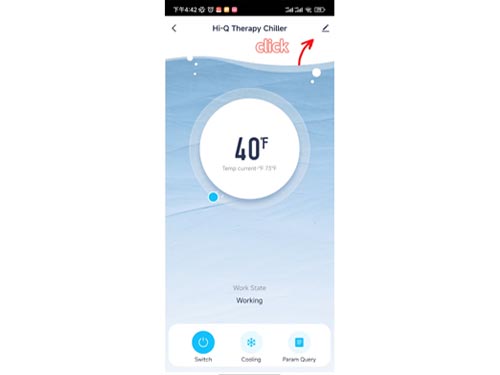
1. Log in to the app and click on the pencil icon in the top right corner → Device information → VirtuaID.
2. Copy this ID and send it to us, and we will upgrade your system remotely.
3. During the upgrade process, do not disconnect from WiFi and do not unplug the power (you can shut down the device).

View More
X
We use cookies to offer you a better browsing experience, analyze site traffic and personalize content. By using this site, you agree to our use of cookies. Privacy Policy
Reject Accept